Why Choose Microscope Glass for Laboratory Use?
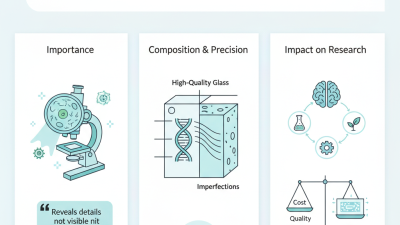
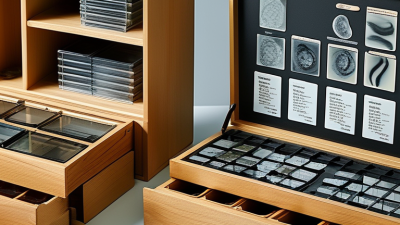
Microscope glass supports reliable observation when sample detail matters. A clean slide creates a stable, transparent surface between the specimen and the objective lens. In daily laboratory work, small defects can become large problems. Scratches, bubbles, uneven thickness, and poor edge finishing may distort images or damage handling equipment.
International standards provide a useful quality baseline. ISO 8037-1 specifies requirements for microscope slides and cover glasses, including dimensions, optical properties, and surface quality. ASTM E438 also identifies borosilicate glass as a suitable material for laboratory applications because of its chemical resistance and thermal stability. These standards do not guarantee perfect performance. They show what responsible selection should examine.
Industry research supports continued demand for dependable microscopy equipment. Grand View Research’s 2024 microscopy market analysis reports ongoing growth across healthcare, pharmaceutical, academic, and industrial laboratories. That growth increases pressure for repeatable sample preparation. Microscope glass helps meet that need through consistent thickness, high light transmission, and compatibility with common staining procedures. Experienced technicians also value its predictable handling under routine workflows.
The practical difference is visible at the bench. A properly made slide lies flat, accepts labeling, and moves smoothly through staining racks. A clean cover glass reduces optical interference above the specimen. Yet glass is not automatically better. Poor packaging, moisture, or careless cleaning can undermine high-quality material. Laboratories should verify compliance, inspect surfaces under light, and match the glass type to the method. One overlooked detail can affect an entire batch of observations. Reliable results begin with disciplined choices, not attractive specifications alone.
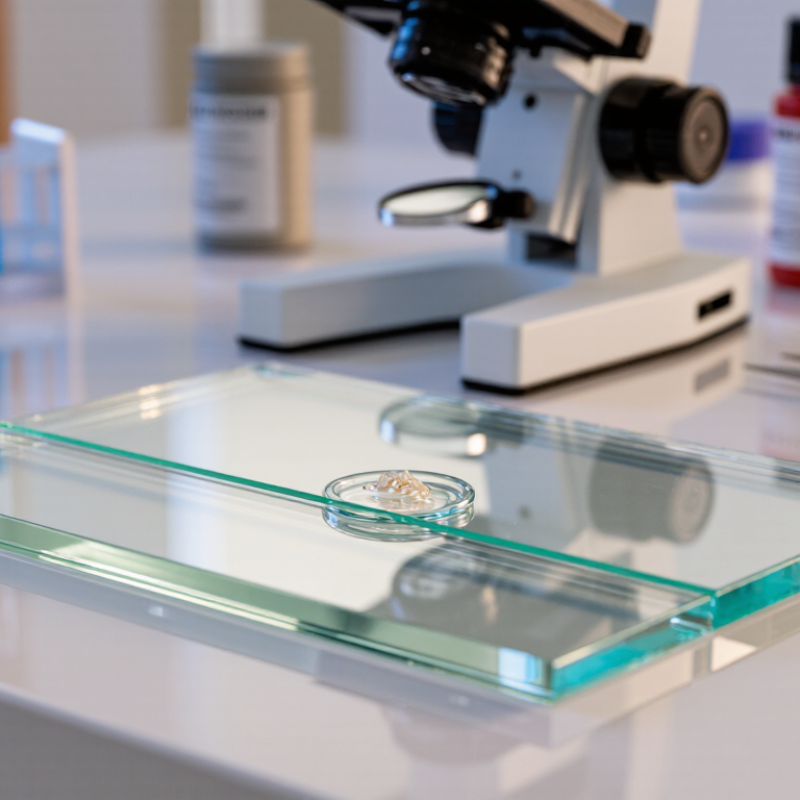
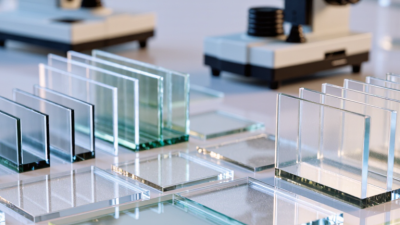
Microscope glass usually means a thin glass slide and a transparent cover glass. Most slides begin with silica, soda, and stabilizing minerals. Manufacturers melt these materials above 1,400°C, then form the glass into sheets. Controlled cooling, called annealing, reduces internal stress. The sheets are cut, edge-ground, washed, and inspected before packaging.
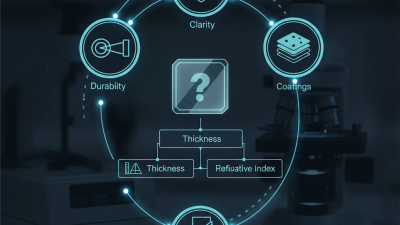
Cover glass needs tighter control than an ordinary window. ISO 8255-1:2011 identifies common thickness classes, including No. 1 at about 0.13–0.16 mm and No. 1.5 at about 0.16–0.19 mm. Small thickness changes can alter focus, especially with high numerical-aperture objectives. ISO 8037-1 also defines requirements for microscope slides, including dimensions and optical suitability. In practical laboratory work, clean surfaces matter as much as flatness. Finger oils can create bright rings, shadows, or uneven staining. Not every edge is perfect. That detail deserves attention.
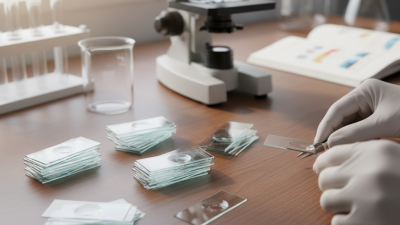
Tips: Choose the cover-glass thickness recommended by the objective manufacturer. Hold glass by its edges, using powder-free gloves or clean forceps. Inspect under angled light for chips, dust, and scratches. Store slides vertically in a dry, covered container. A useful habit is checking one unused piece before a long imaging session; this simple step can prevent hours of questionable results.
| Data Dimension | Typical Information | Laboratory Relevance |
|---|---|---|
| What microscope glass is | Precision glass products used to support, contain, protect, or optically transmit a specimen during microscopic examination. | Provides a stable and transparent interface between the specimen and the microscope optics. |
| Main product types | Microscope slides, cover glasses, cavity slides, chamber slides, and specialty coated glass. | Different formats support prepared slides, live-cell work, liquid samples, and fluorescence applications. |
| Common slide size | Approximately 75 × 25 mm, or 3 × 1 inch; nominal thickness is commonly close to 1 mm. | Fits the mechanical stages and slide holders of many standard laboratory microscopes. |
| Cover glass thickness | No. 1 cover glass is generally about 0.13–0.16 mm thick; No. 1.5 is generally about 0.16–0.19 mm. | Using the correct thickness helps maintain the optical correction expected by many objective lenses. |
| Glass composition | Common compositions include soda-lime glass and borosilicate glass. Specialized optical glass may be selected for demanding imaging requirements. | Composition affects chemical resistance, thermal stability, optical behavior, and cost. |
| Optical transparency | High-quality microscope glass is manufactured with low visible-light distortion and a smooth optical surface. | Improves image clarity, contrast, focusing accuracy, and repeatability of observations. |
| Typical surface quality | Surfaces are polished or fire-finished and inspected for scratches, chips, bubbles, haze, and visible contamination. | Reduces artifacts that can be mistaken for specimen features. |
| Manufacturing step 1: batching | Measured raw materials, such as silica-containing materials, fluxes, and stabilizers, are blended according to the selected glass composition. | Accurate batching supports consistent composition and optical performance. |
| Manufacturing step 2: melting and refining | The batch is melted at high temperature, refined to remove bubbles, and homogenized to reduce composition variations. | Uniform glass minimizes bubbles, striae, and optical irregularities. |
| Manufacturing step 3: forming | Molten glass is formed into sheet, tubing, or other shapes and then cut into slides or cover-glass blanks. | Controlled forming helps achieve consistent dimensions and thickness. |
| Manufacturing step 4: annealing | The formed glass is cooled through a controlled temperature range to relieve internal stresses. | Reduces the risk of cracking, warping, or breakage during handling and laboratory use. |
| Finishing and cleaning | Edges may be ground or polished, surfaces are cleaned, and selected products may receive marking, coating, or surface treatment. | Clean, smooth edges improve handling safety, while clean surfaces support reliable staining and imaging. |
| Chemical resistance | Glass resists many aqueous buffers and common laboratory solvents, but strong alkalis, hydrofluoric acid, and prolonged chemical exposure can damage it. | Supports routine preparation while requiring compatibility checks for aggressive reagents. |
| Sterilization suitability | Many glass slides and coverslips tolerate laboratory heat or steam sterilization when the product and process are compatible. | Enables reuse or sterile workflows, subject to cleaning, thermal-shock, and contamination-control requirements. |
| Key selection criteria | Choose according to dimensions, thickness, glass composition, surface cleanliness, coating, edge finish, optical quality, and intended application. | Matching the glass to the microscope system and specimen type improves measurement consistency and image quality. |